Functional Features
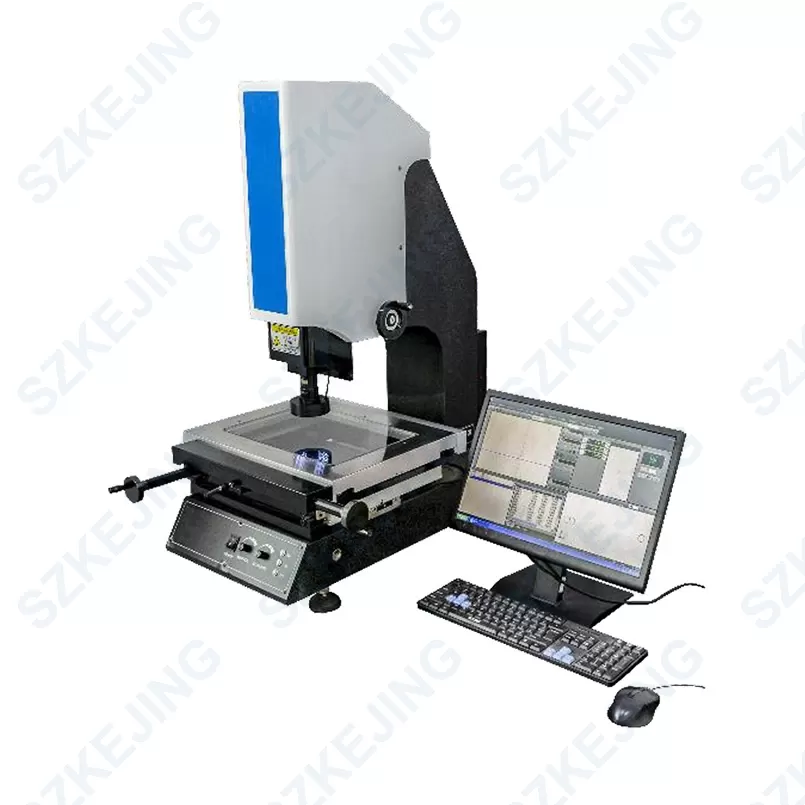
Focus indicator function: When detecting different workpieces, the computer – assisted calculation determines the focus each time, providing high – definition color images to ensure measurement accuracy and repeatability.
Automatic edge – finding function: The sensing sensitivity can be set to avoid human visual errors.
LED adjustable dual – light source: A light source selection system with wide variation is provided for measuring workpieces.
Measurement and evaluation of geometric elements: Measurement and evaluation of basic geometric elements such as points, straight lines, circles, ellipses, and arcs.
Strong fuzzy – edge – removing function for points, straight lines, circles, ellipses, and arcs, enabling more accurate measurement of products with fuzzy edges.
Clear photographs of products can be taken, and images can be output in JPG or BMP picture formats.
Technical Parameters
| Power Supply | Voltage 220VAC ± 10%, Frequency 50Hz, Power 600W |
| Operating Environment | Recommended ambient temperature 25 ± 3°C, Humidity 30 – 80RH(%), No vibration and electromagnetic interference |
| X, Y – axis Measuring Stroke | 300 * 200mm |
| Z – axis Measuring Stroke | 200mm focusing and auxiliary measurement |
| Equipment Utilization Rate | ≥ 98% (caused by non – equipment reasons) |
| Transmission Form | X, Y – axis optical lever transmission, Z – axis screw transmission |
| Load Capacity | 25KG |
| Measurement Precision | X, Y – coordinate indication value error ≤ (3 + L/150)μm |
| Grating Ruler | 1μm resolution |
| Guide Rail | Adopts high – precision linear pre – load guide rail, optimized cross – guide rail load layout, strong anti – yaw ability, low resistance, small wear |
| Image Sensor | High – resolution 1/3″ CCD camera |
| Light Source | Ring light: LED cold light source, adjustable; Surface light: LED cold light source, 256 levels, adjustable |
| Optical Lens | 0.7 – 4.5X continuous zoom objective lens |
| Magnification Ratio | 20 – 128X, with a 2X magnification lens added, the total magnification ratio after addition is 20 – 260X |
| Object Field of View | 11.1mm – 1.7mm |
| Software | 3D measurement software |
| Working Distance | 90mm |
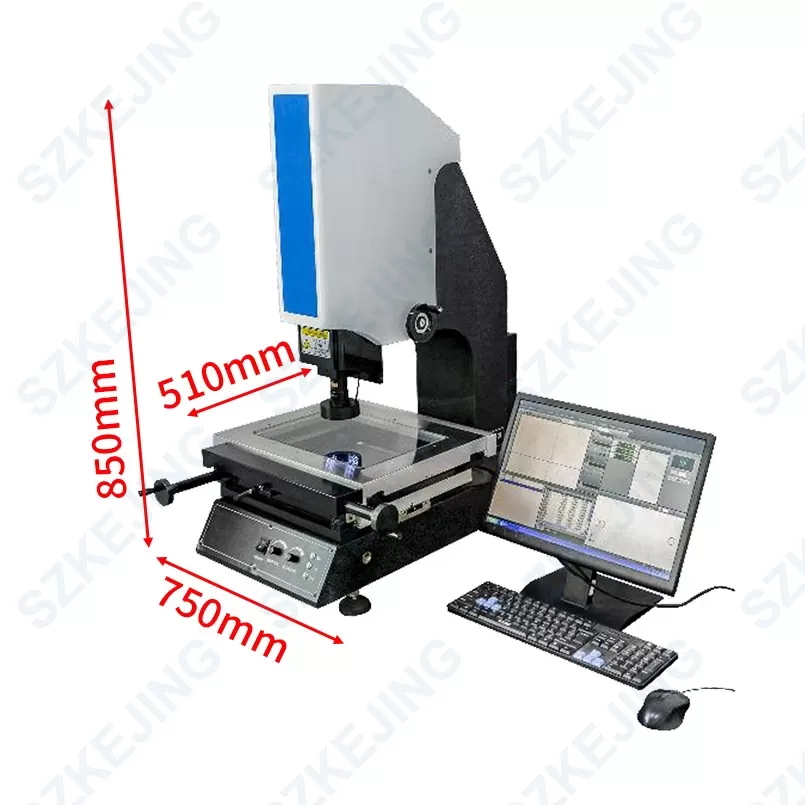
| Equipment Size | L750 * W510 * H850mm |
| Weight | Approximately 160kg |

