Functional Features
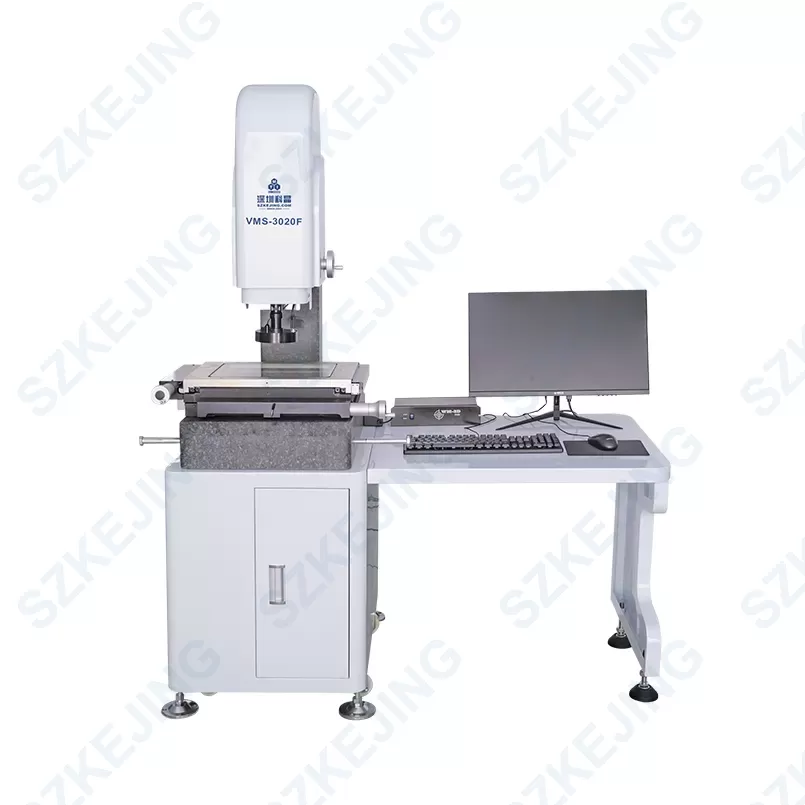
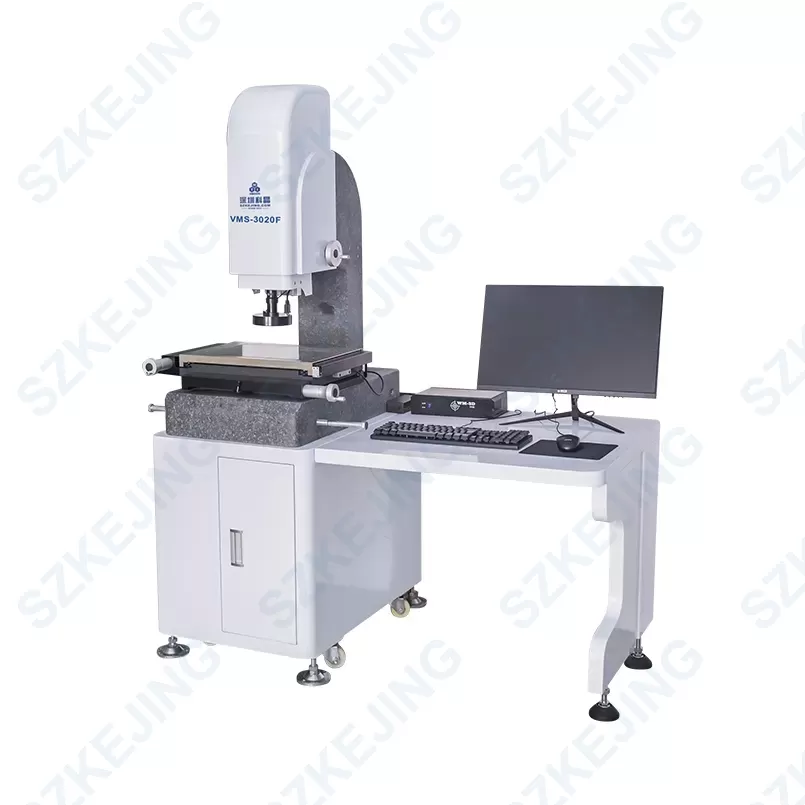
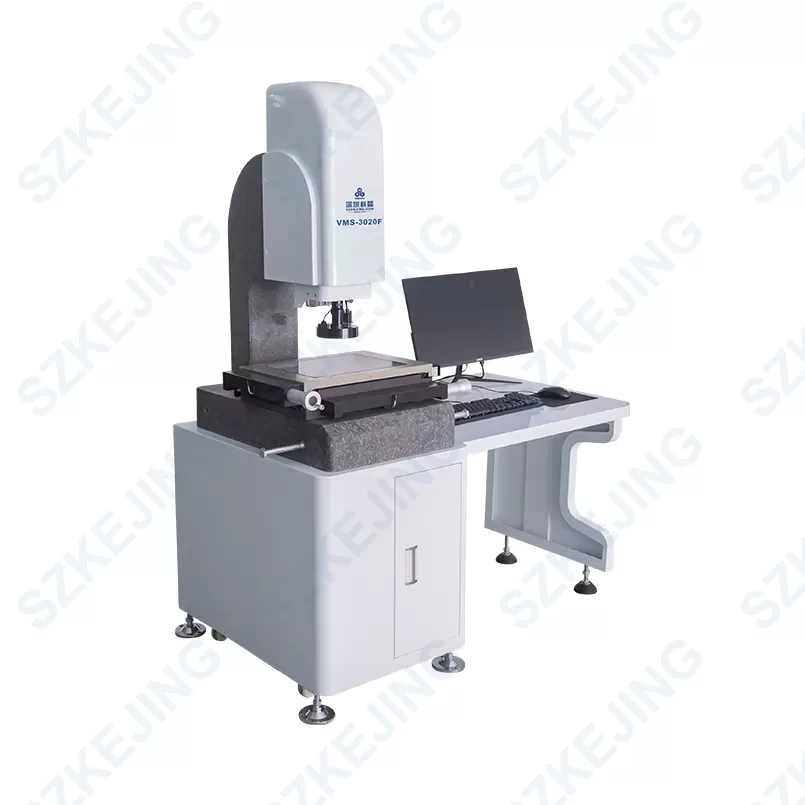
The marble base and columns have good stability and strong structural rigidity.
The marble workbench with a two – layer workbench structure reduces mechanical errors, ensuring the precision of X and Y – axis horizontal motion boxes and workrooms with circular – arc structure design.
The high verticality of marble X and Y axes ensures high measurement accuracy (3 + L/200) um, even if the workpiece is not aligned properly.
The camera: high – resolution color 1/2″ CCD 800TVL.
Manual zoom lens, changing the lens magnification, automatic focusing, avoiding errors in ratio selection, and improving efficiency at the same time.
The X and Y axes use 0.0005mm grating scales for high precision, reliability, and effective avoidance of return errors, avoiding zero – position errors.
Precision – grade guide rails are adopted, with stronger load – bearing capacity and longer service life.
The programmable light source: LED 5 – ring 8 – zone surface ring light + bottom parallel backlight, all programmable control, capable of providing N kinds of lighting combination modes.
Foot – pedal switch, release – hand, convenient operation, fast.
Powerful surface – edge – finding function, multiple pattern – finding modes can be set.
Contour scanning function, generating 2D CAD files, powerful photo – taking and image – stitching functions, generating high – definition 2000 – megapixel images.
Flatness 3D surface report form (3D format or 2D format).
CAD import for multi – virtual measurement.
Drilling hole (or special) file import measurement (such as circuit boards, etc.).
Customer report template import (self – defined report).
Dimensional tolerance color management (color control).
Continuous zoom lens, manual adjustment of magnification.
Technical Parameters
| Power supply | Single – phase AC 220V ± 10% V, frequency 50Hz, power about 800W |
| Working Environment | Temperature: 20 ~ 25 °C, humidity: 55 ~ 60%. The amount of 0.5MLXPOV impurities in the air should not exceed 45,000 per cubic foot, and the internal vibration of the equipment room should not exceed 0.5T. |
| Workbench Stroke | X300mm * Y200mm |
| Workbench Focusing Stroke | Z200mm |
| Workbench Metal Platform Size | L450mm * W320mm |
| Workbench Glass Platform Size | L330mm * W250mm |
| Workbench Glass Platform Load – bearing Capacity | ≤30kg |
| Workbench Transmission Mode | X/Y/Z optical rod transmission |
| Imaging System | Camera: WM 1/2″ CCD camera magnification factor 400XContinuous framing zoom lens: High – definition zoom lens // Continuous magnification factor 0.7 – 4.0X |
| Light Source System | 5 – ring 8 – zone programmable light source, surface light source and transmitted light source LED cold light source, long service life, adjustable brightness |
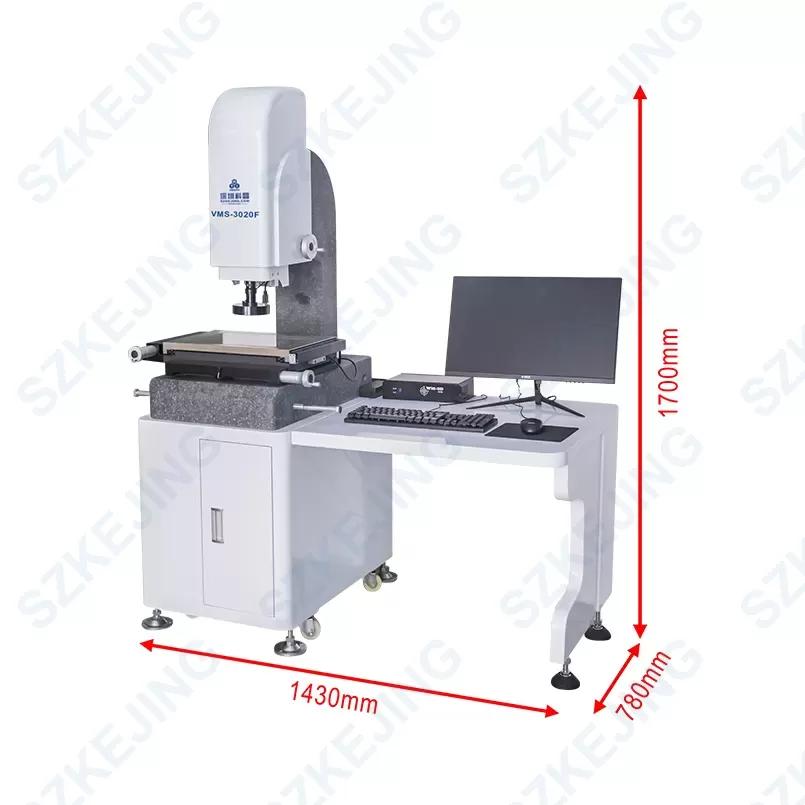
| Equipment Size | Approximately L1430mm × D780mm × H1700mm (including workbench) |
| Equipment Weight | Approximately 270kg |

